Assemblr Edu Guide
Visit Assemblr Edu
English
English
  • Hello!
  • Getting Started on Assemblr Edu
    • What is Assemblr Edu?
    • Tech Check!
    • Signing Up in Assemblr EDU
    • Signing In to Assemblr EDU
    • Email Verification
    • Account Login Limitation
  • Assemblr EDU Main Feature
    • Topics
    • Edu Kits
    • Editor
    • Classroom
  • Creation Guideline
    • Warm Up Activity
    • Core Activity
    • Student's Activity
  • Introduction to 3D/AR Editor
    • 3D/AR Creator Dashboard
    • Custom Marker Dashboard
  • Assemblr Edu Main Menu
    • Navigation Bar
    • Project Dashboard
    • AR Markers Dashboard
    • Account Dashboard
    • Marketplace Page
    • Discover Page
  • Create Projects
    • Create Project Using Super Simple Editor
    • Create Project Using Default Editor
  • Assemblr Edu Editor
    • Introduction to Editor
    • Super Simple Editor
    • On-Screen Display Settings
    • Multi-Select Objects
    • Change Background Color
    • Insert 3D & 2D Objects
    • Insert Texts & Annotations
    • Insert Videos & Audio
    • Transform Tools on Editor
      • How to Move Objects
      • How to Rotate Objects
      • How to Scale Objects
      • How to Duplicate Objects
      • How to Mirror Objects
      • How to Copy Objects to Another Scene
      • How to Delete Objects
      • How to Edit Objects on the Transform Panel
      • How to Change Objects on the Transform Panel
    • Scene Feature
      • How to Add, Duplicate, and Remove Scenes
      • How to Set Scene Camera
    • Interactivity Feature
      • Animate (Move, Rotate, Scale, Animation)
      • Visibility (Hide & Show)
      • Jump Up (Switch Scene & Open URL)
      • Media (Video Control & Sound Effect)
  • Custom AR Markers
    • What Is Custom AR Marker?
    • How to Insert Custom AR Markers from the Editor
    • How to Insert Custom AR Markers from AR Marker Dashboard
    • How to Purchase Custom AR Markers
  • Preview & Publish Projects
    • How to Preview Your Project
    • How to Publish Your Project
  • Share Projects
    • Share Project's Link
    • Share Project's Embed Code
    • Share AR Markers
    • Embed in Canva
  • View Projects
    • View on Web Browser
    • View on Assemblr Edu App
  • Assemblr Marketplace
    • What Is Assemblr Marketplace?
  • Plans & Pricing
    • Assemblr Edu Subscription Plans
    • BLR Coin
  • Redeem Vouchers
    • How to Redeem Vouchers
Powered by GitBook
On this page
  • Getting Started
  • Project-Based Learning for Student Activities
  • Project 1: Urban Farming
  • Colors
  • Background Design
  • 3D Objects
  • Project 2: Children’s Portofolio
  • 3D Objects
  • Icon Linking to a Website
  • 2D Image (Photo) and Private Sharing
  • Project 3: My Bedroom
  • 3D Objects
  1. Creation Guideline

Student's Activity

PreviousCore ActivityNext3D/AR Creator Dashboard

Getting Started

In this section, you’ll learn how to guide your students in creating their own 3D/AR projects. This will align with the "Project-Based Learning" teaching method, perfect for student activities.

Note: These guidelines are for reference only. Encourage creativity and let students design projects based on their own ideas!

Let’s learn how to enrich your learning experiences! ✨

Project-Based Learning for Student Activities
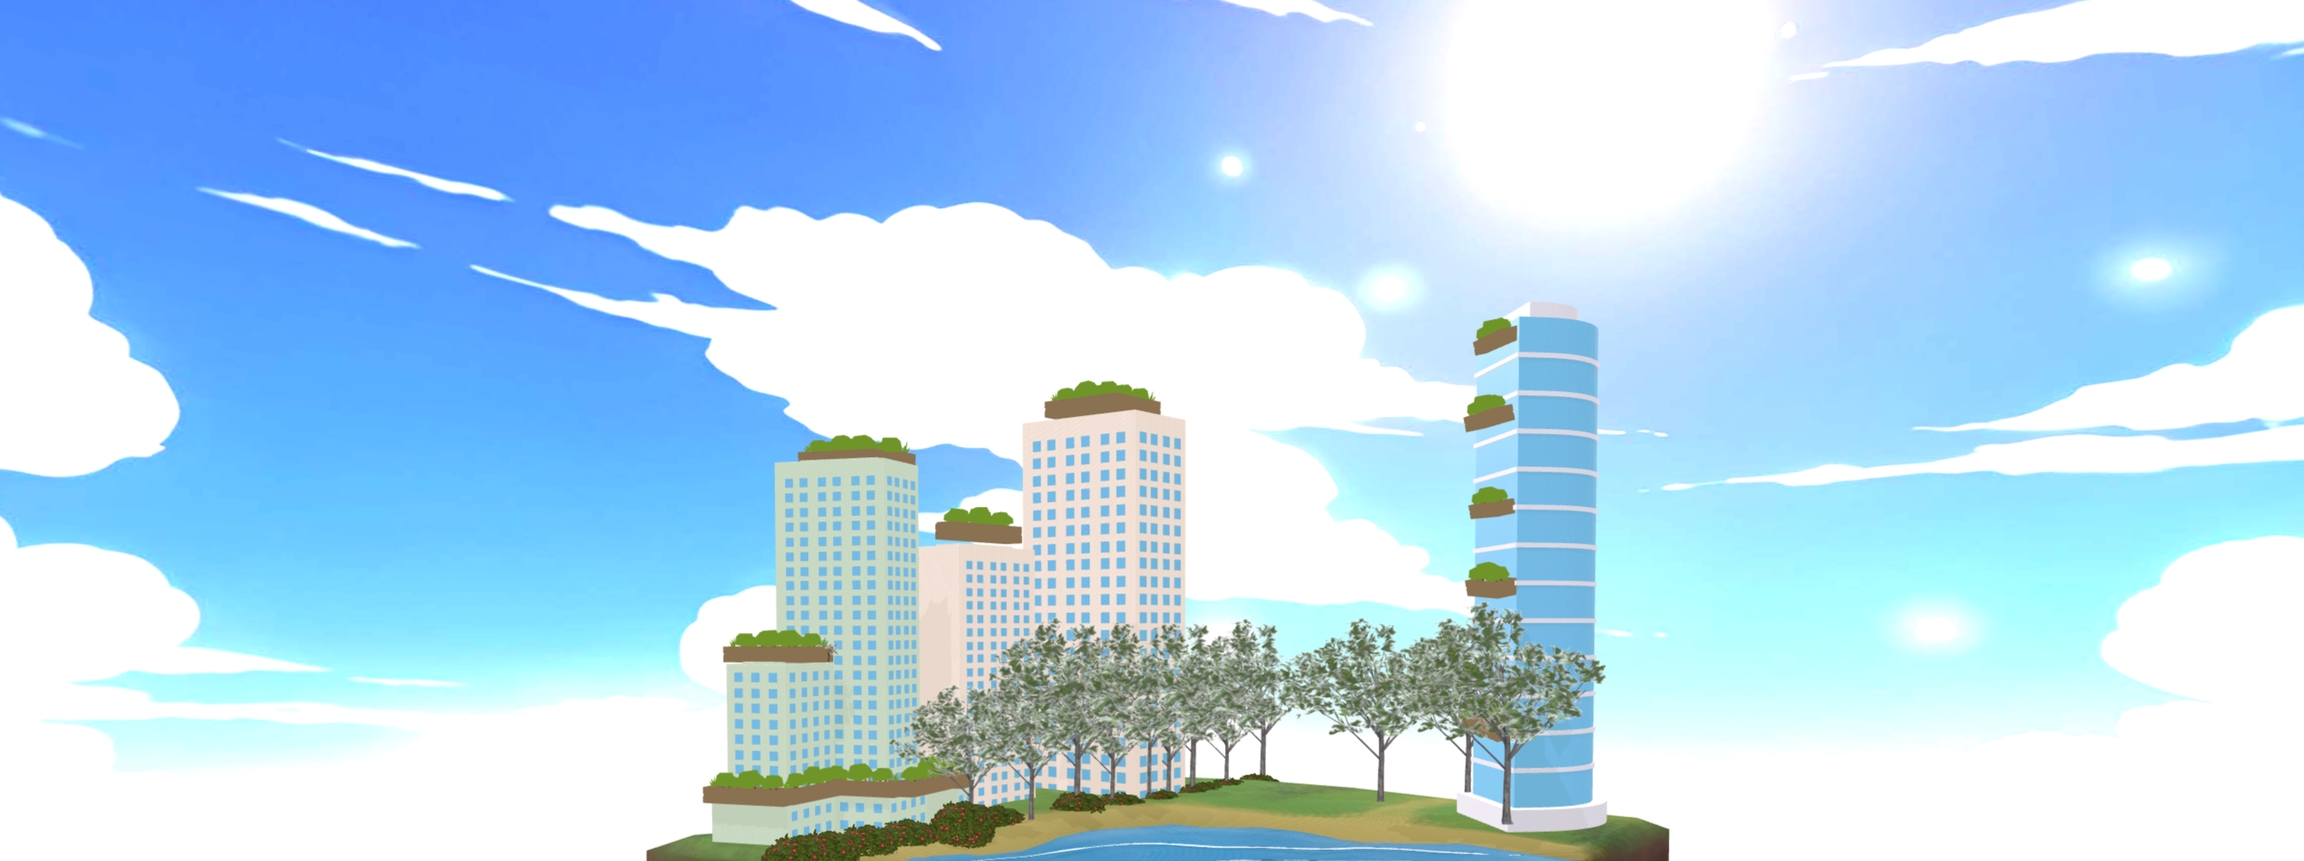
Here are three examples of how to guide your students in creating their projects:

Project 1: Urban Farming
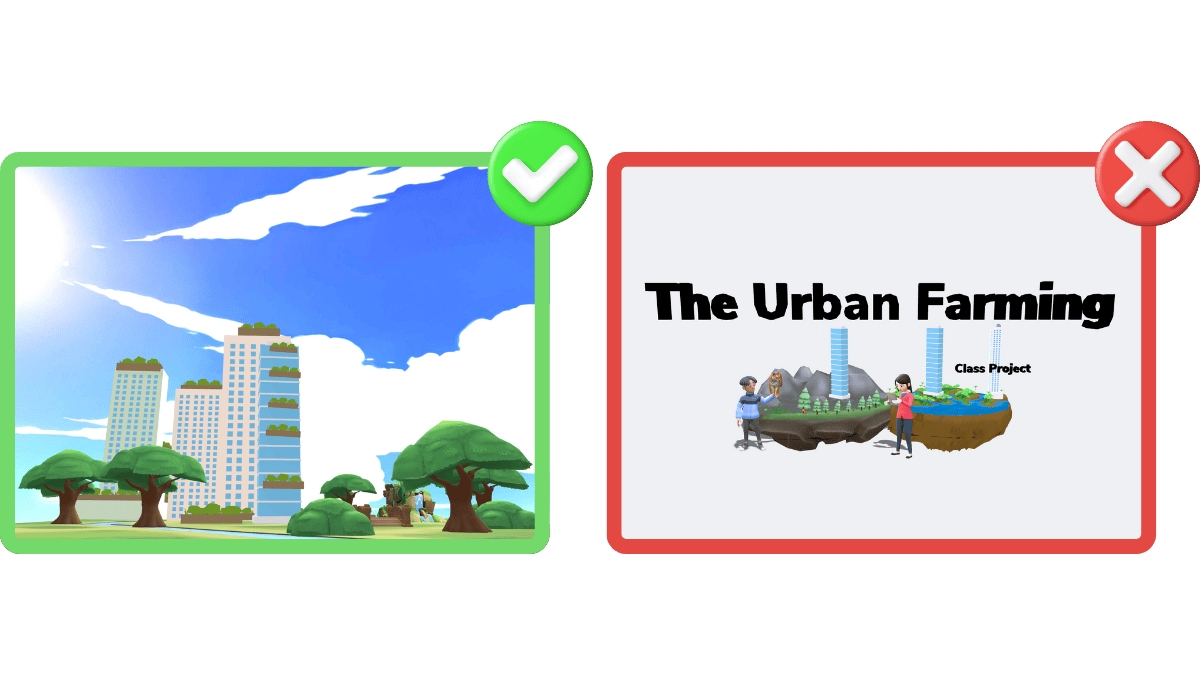
Colors

  • Choose 2–3 complementary colors to maintain visual harmony.

Background Design

  • Option 1: Use "Dome" or "Panoramic" features to create shaded backgrounds.

  • Option 2: Use the background color feature to select a suitable color.

3D Objects

  • Limit the number of objects to ensure optimal performance (maximum size: 20MB).

  • Alternatively, use images instead of 3D models to reduce file size

Project 2: Children’s Portofolio

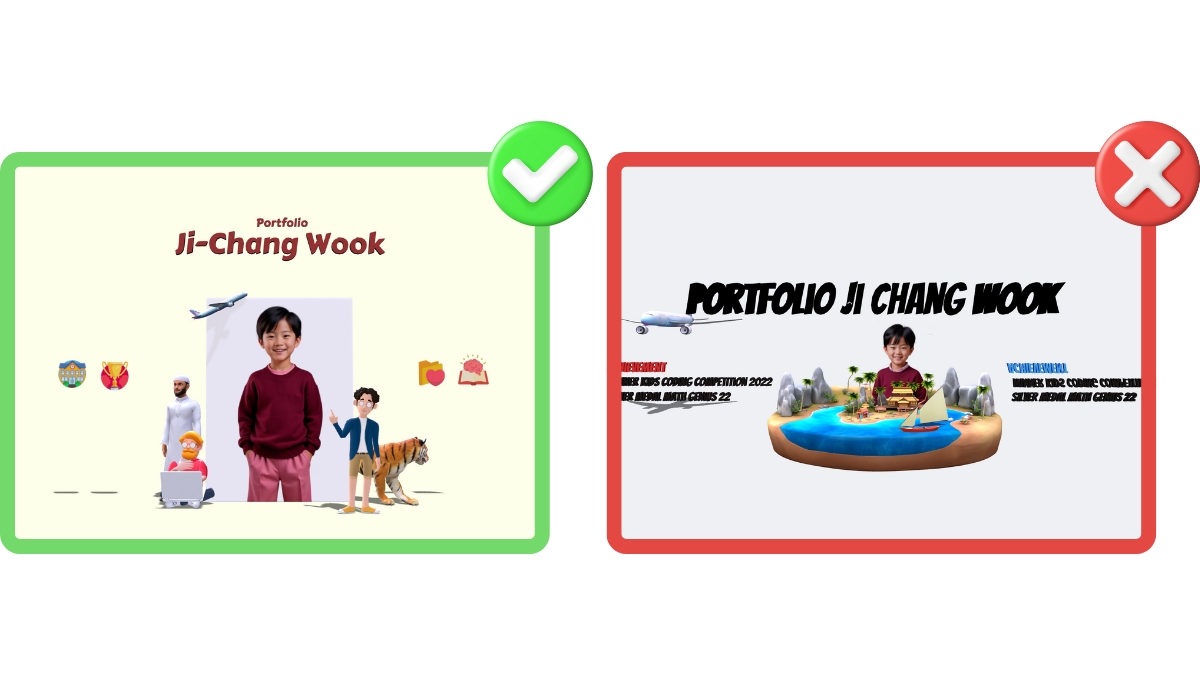
This project involves students creating their own portfolio in 3D/AR. It helps students develop their creativity.
3D Objects

  • Use any 3D objects to encourage children to create and imagine without limits.

Icon Linking to a Website

  • Insert an image (as an icon or button), then add basic interactivity and embed a link in the image.

2D Image (Photo) and Private Sharing

  • Insert a photo using the "Image" feature. If the photo is private, you can set the publish setting to "private" and share the link only with specific people.

Project 3: My Bedroom

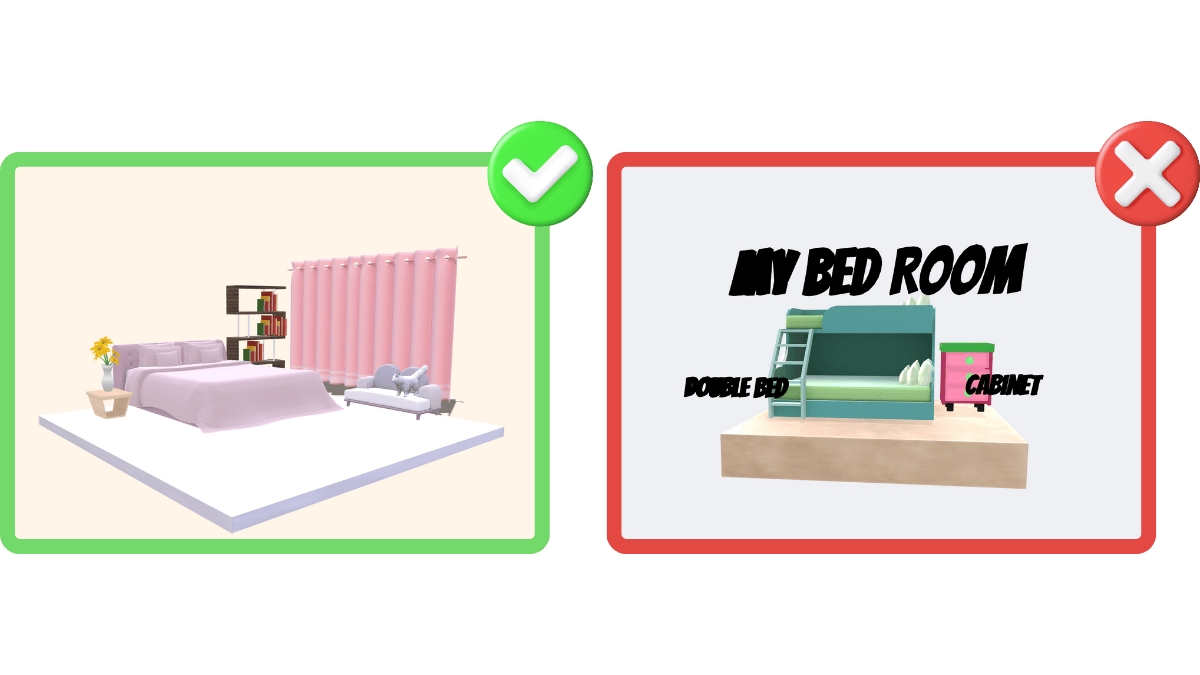
This project involves students designing a compelling room layout. It helps them develop creativity, design skills, and spatial awareness.
3D Objects

  • Students can use 3D objects from the library without limitations. They can experiment with arranging objects to fit the room and ensure it looks compelling from every angle!