> For the complete documentation index, see [llms.txt](https://guide.assemblredu.com/llms.txt). Markdown versions of documentation pages are available by appending `.md` to page URLs; this page is available as [Markdown](https://guide.assemblredu.com/en/create-ar-3d-content/editor/2.-create-project/custom-marker.md).

# Custom marker

{% hint style="info" %}
**📌Highlight:**\
Custom Marker is a premium feature that allows you to replace standard AR markers with your own custom-designed images. You can purchase Custom Markers through [subscription packages](https://edu.assemblrworld.com/en/plans) or [add-on](https://edu.assemblrworld.com/en/projects/markers) if you need more than 5 markers.
{% endhint %}

## What is a Custom Marker?

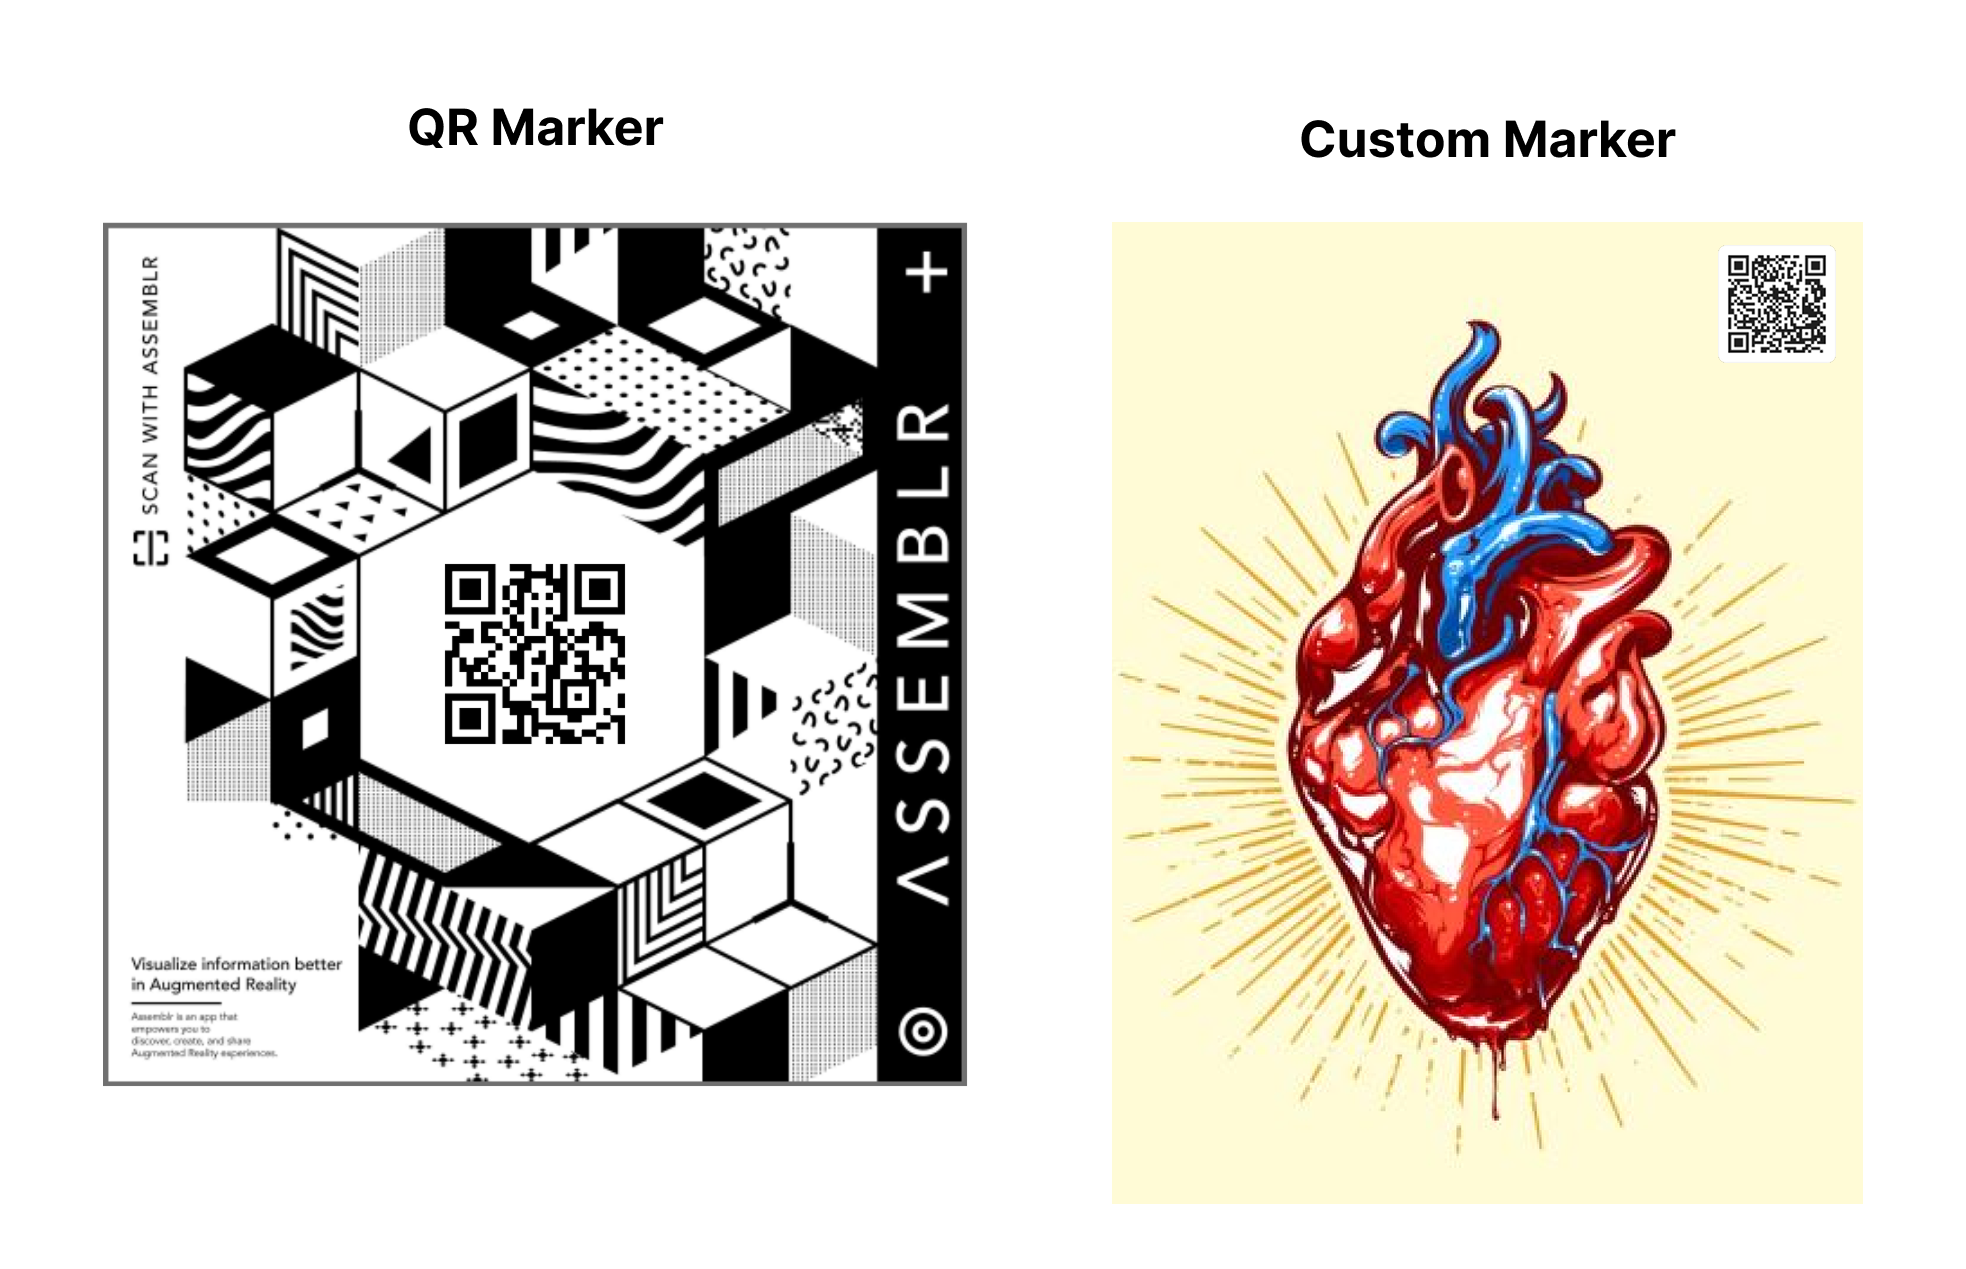
<figure><img src="/files/wFB7PR89bYHzfDRNiGGl" alt=""><figcaption></figcaption></figure>

A Custom Marker is an AR marker that uses a personalized image based on your own design. Unlike standard QR markers, Custom Markers allow you to replace the black-and-white code with full-color visuals such as illustrations, logos, photos, or other custom graphics. [You can view the differences between QR Markers and Custom Markers here.](https://youtu.be/YpwOecJytGk?si=ax7mZAo1cIlxy0xU)

Custom Marker (Add-on) allows you to purchase more than 5 markers with a longer validity period. This option is more flexible and cost-effective compared to Custom Markers included in Assemblr EDU subscription packages.

Please note: You cannot increase your Custom Marker quota by purchasing multiple packages. Each subscription package is limited to 5 Custom Markers.

## Creations That Use Custom Markers

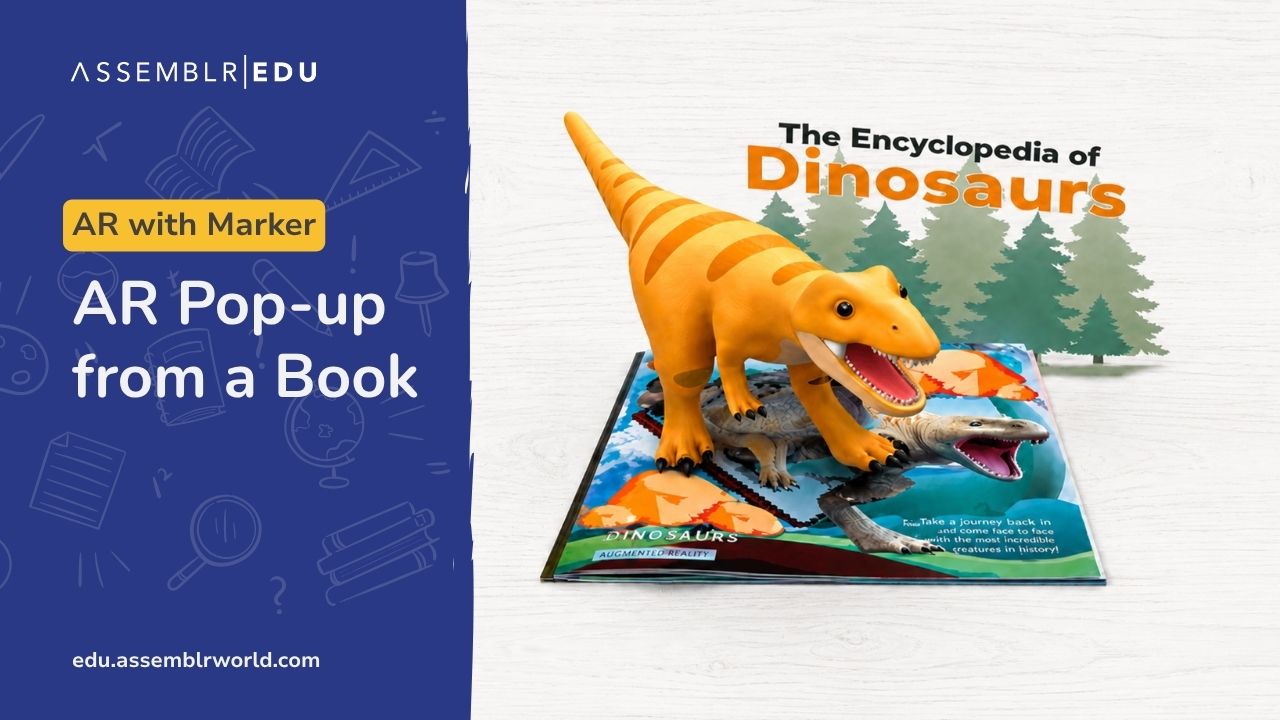
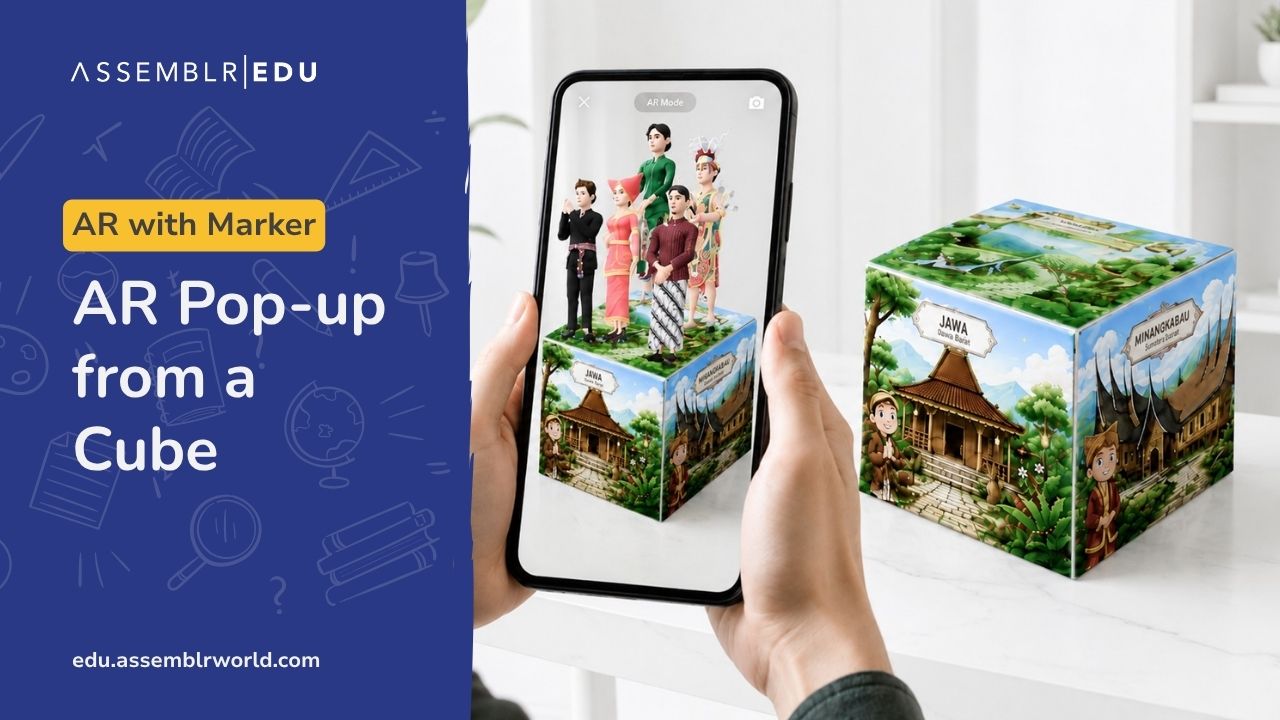
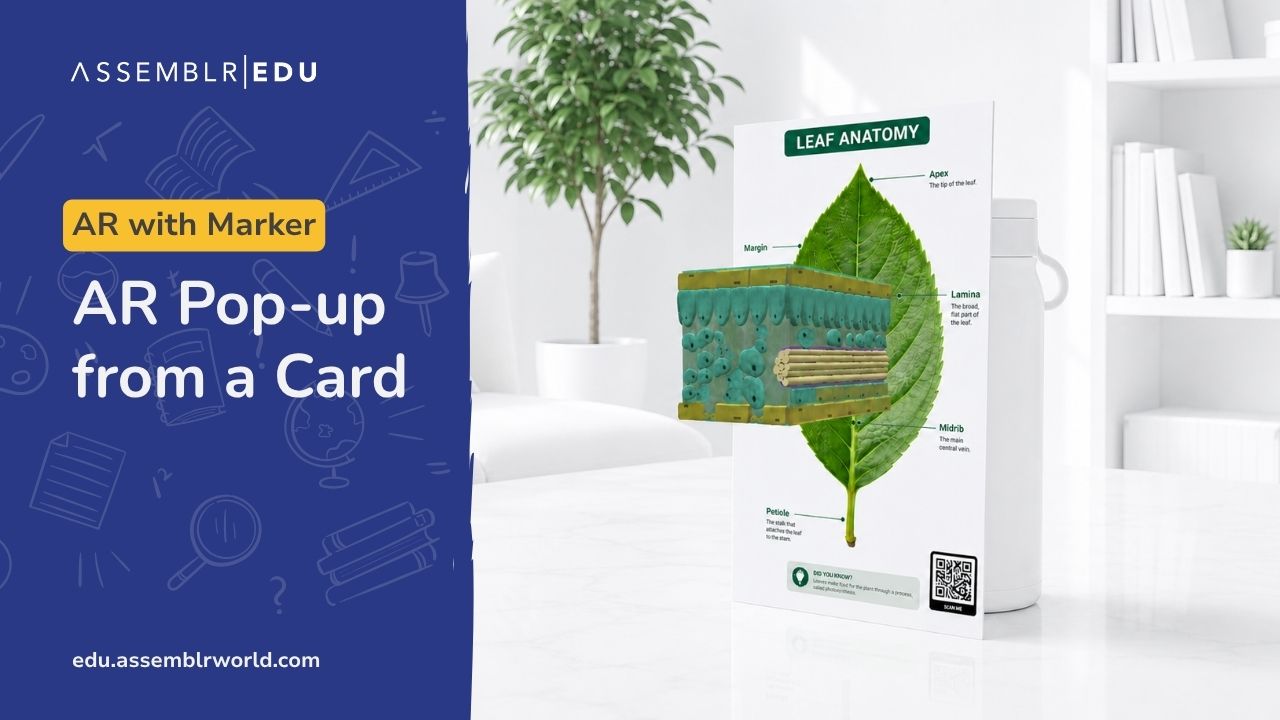
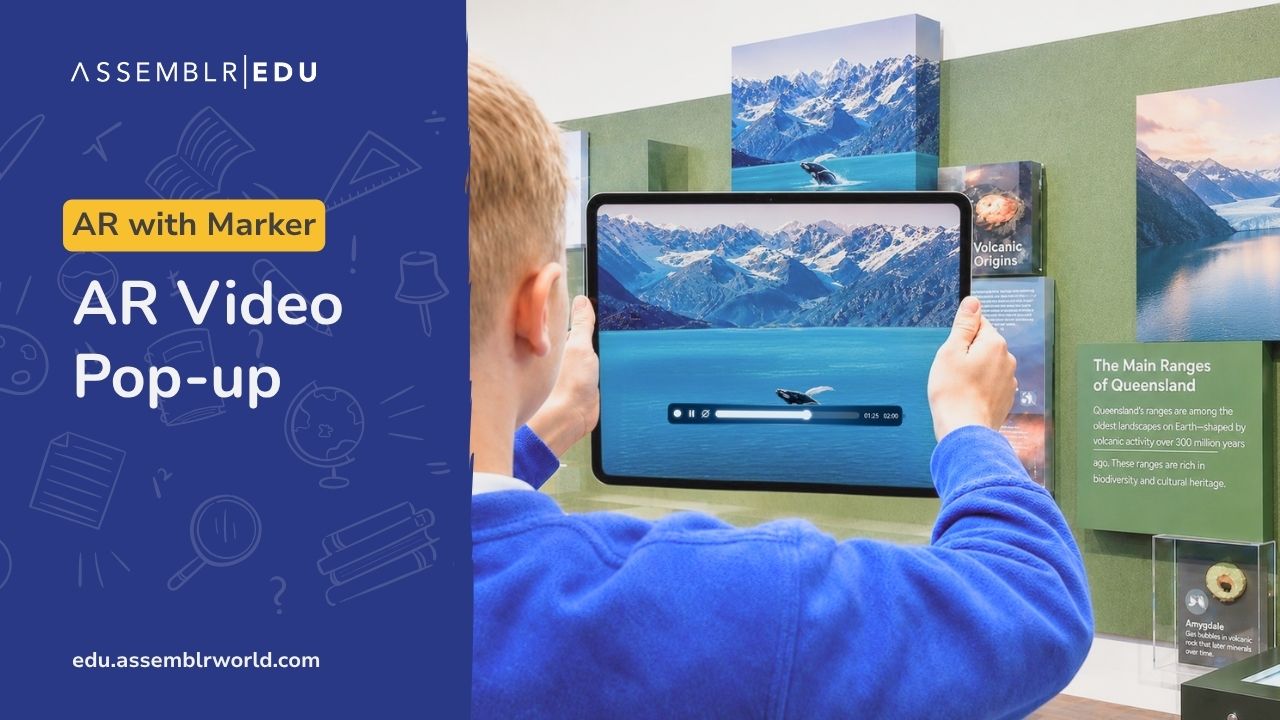
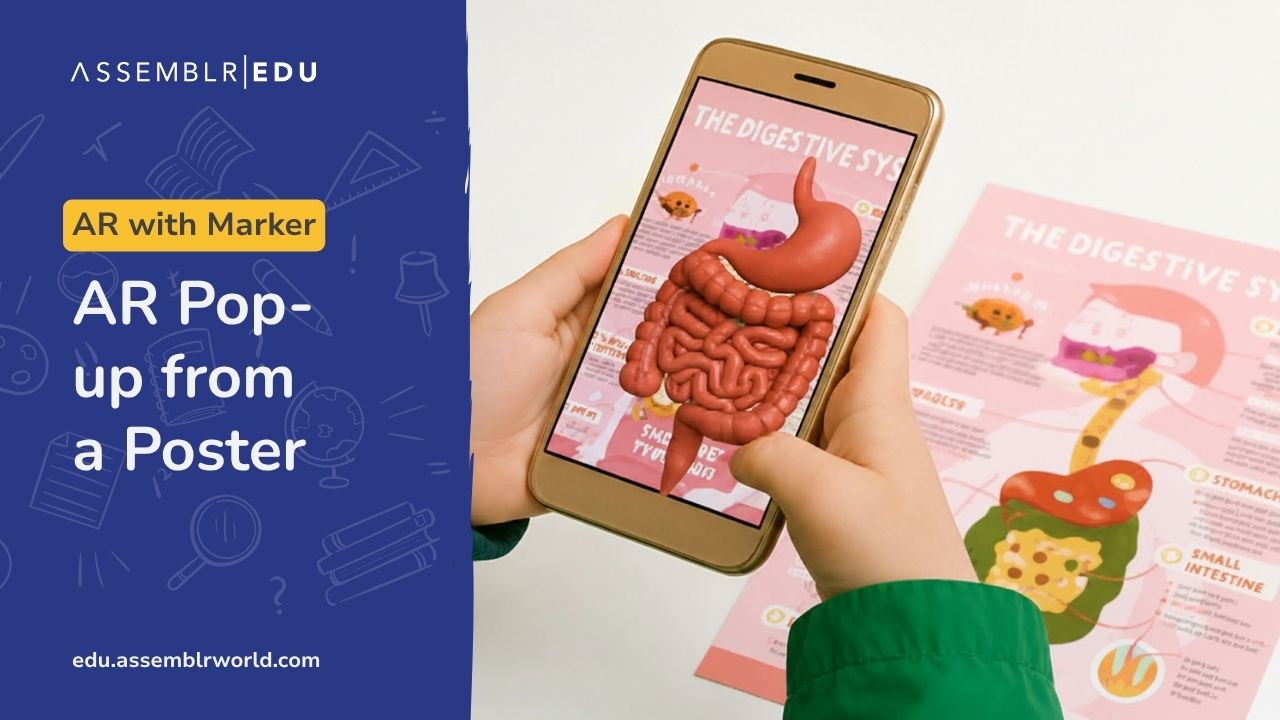
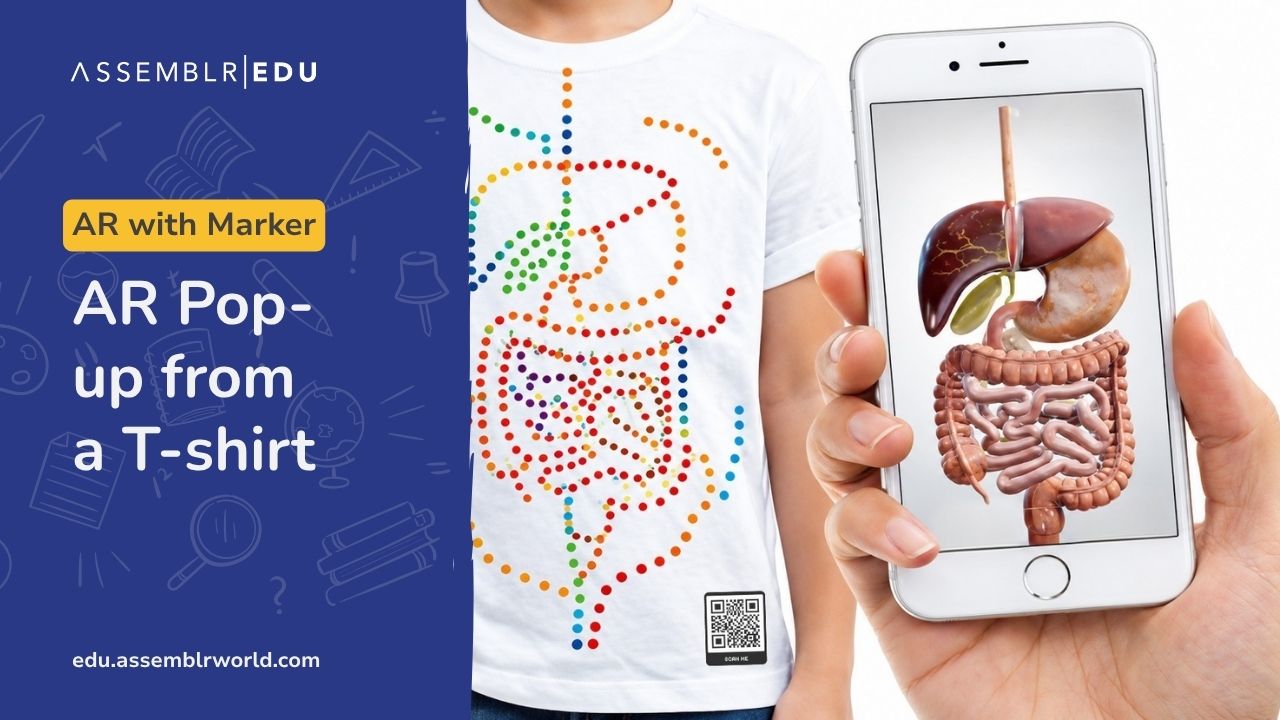
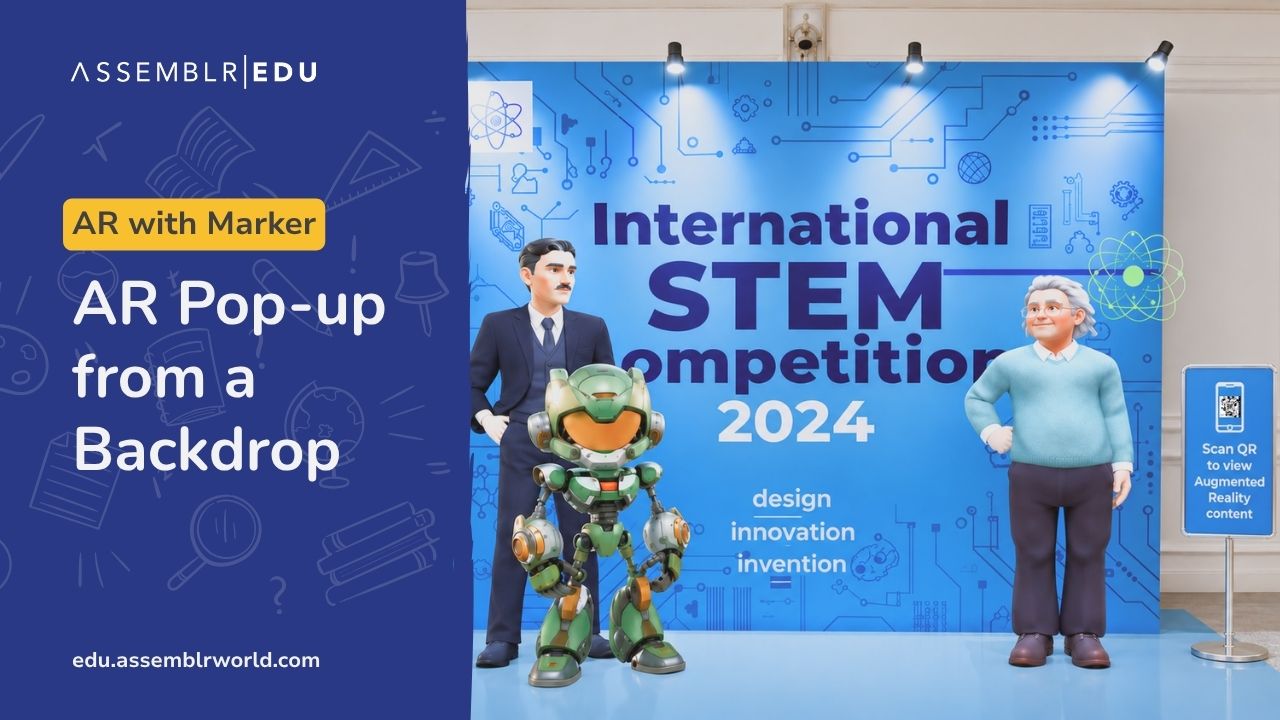
<table data-view="cards"><thead><tr><th></th><th data-hidden data-card-cover data-type="image">Cover image</th><th data-hidden data-card-target data-type="content-ref"></th></tr></thead><tbody><tr><td>AR Pop-up from Book</td><td><a href="/files/uIzHVuzKTwWEa1xTkUnN">/files/uIzHVuzKTwWEa1xTkUnN</a></td><td><a href="https://youtu.be/qR7wabUhGjE?si=CRQ9QOsEU_J_anlJ">https://youtu.be/qR7wabUhGjE?si=CRQ9QOsEU_J_anlJ</a></td></tr><tr><td>AR Pop-up from Cube</td><td><a href="/files/hKN3Ds9WThShnNqQeBz0">/files/hKN3Ds9WThShnNqQeBz0</a></td><td><a href="https://youtu.be/XfJR9eobRq8?si=YURZTaYuy_pVjskZ">https://youtu.be/XfJR9eobRq8?si=YURZTaYuy_pVjskZ</a></td></tr><tr><td>AR Pop-up from Card</td><td><a href="/files/NzSdwOb21ZRwAhVQSwwO">/files/NzSdwOb21ZRwAhVQSwwO</a></td><td><a href="https://youtu.be/xkU3-Wxrlag?si=JlsUa8D4YUZ1KNDm">https://youtu.be/xkU3-Wxrlag?si=JlsUa8D4YUZ1KNDm</a></td></tr><tr><td>AR Pop-up from Pop-up</td><td><a href="/files/Gu6MZSqTtEuWlMRkHhU1">/files/Gu6MZSqTtEuWlMRkHhU1</a></td><td><a href="https://youtu.be/N2mrUBSvdW4?si=BqK_Pi-MR_XrqhmR">https://youtu.be/N2mrUBSvdW4?si=BqK_Pi-MR_XrqhmR</a></td></tr><tr><td>AR Pop-up from Poster</td><td><a href="/files/rs8PlleLkho95sCjyOZg">/files/rs8PlleLkho95sCjyOZg</a></td><td><a href="https://youtu.be/4nBNSsbx_Vg?si=I4s11X-u2AZQYiGM">https://youtu.be/4nBNSsbx_Vg?si=I4s11X-u2AZQYiGM</a></td></tr><tr><td>AR Pop-up from T-Shirt</td><td><a href="/files/OeXVEsWfOTlx60CPeMZ5">/files/OeXVEsWfOTlx60CPeMZ5</a></td><td><a href="https://youtu.be/d1tVHm1zt7A?si=1r5t3xgG6b5Hs49q">https://youtu.be/d1tVHm1zt7A?si=1r5t3xgG6b5Hs49q</a></td></tr><tr><td>AR Pop-up from a Backdrop</td><td><a href="/files/tN2T0TqOKArMR34M92Jq">/files/tN2T0TqOKArMR34M92Jq</a></td><td><a href="https://youtu.be/kFolxeQ1rMg?si=04SYrs0l11l9Cbh2">https://youtu.be/kFolxeQ1rMg?si=04SYrs0l11l9Cbh2</a></td></tr><tr><td>AR Pop-up from an Interactive Installation</td><td><a href="/files/yVM5P4SqPUgwzd24IRlE">/files/yVM5P4SqPUgwzd24IRlE</a></td><td><a href="https://youtu.be/NuKHxG8n_AY?si=N0BZ_RUb4lS4wjjU">https://youtu.be/NuKHxG8n_AY?si=N0BZ_RUb4lS4wjjU</a></td></tr></tbody></table>

## What Does an Ideal Custom Marker Look Like?

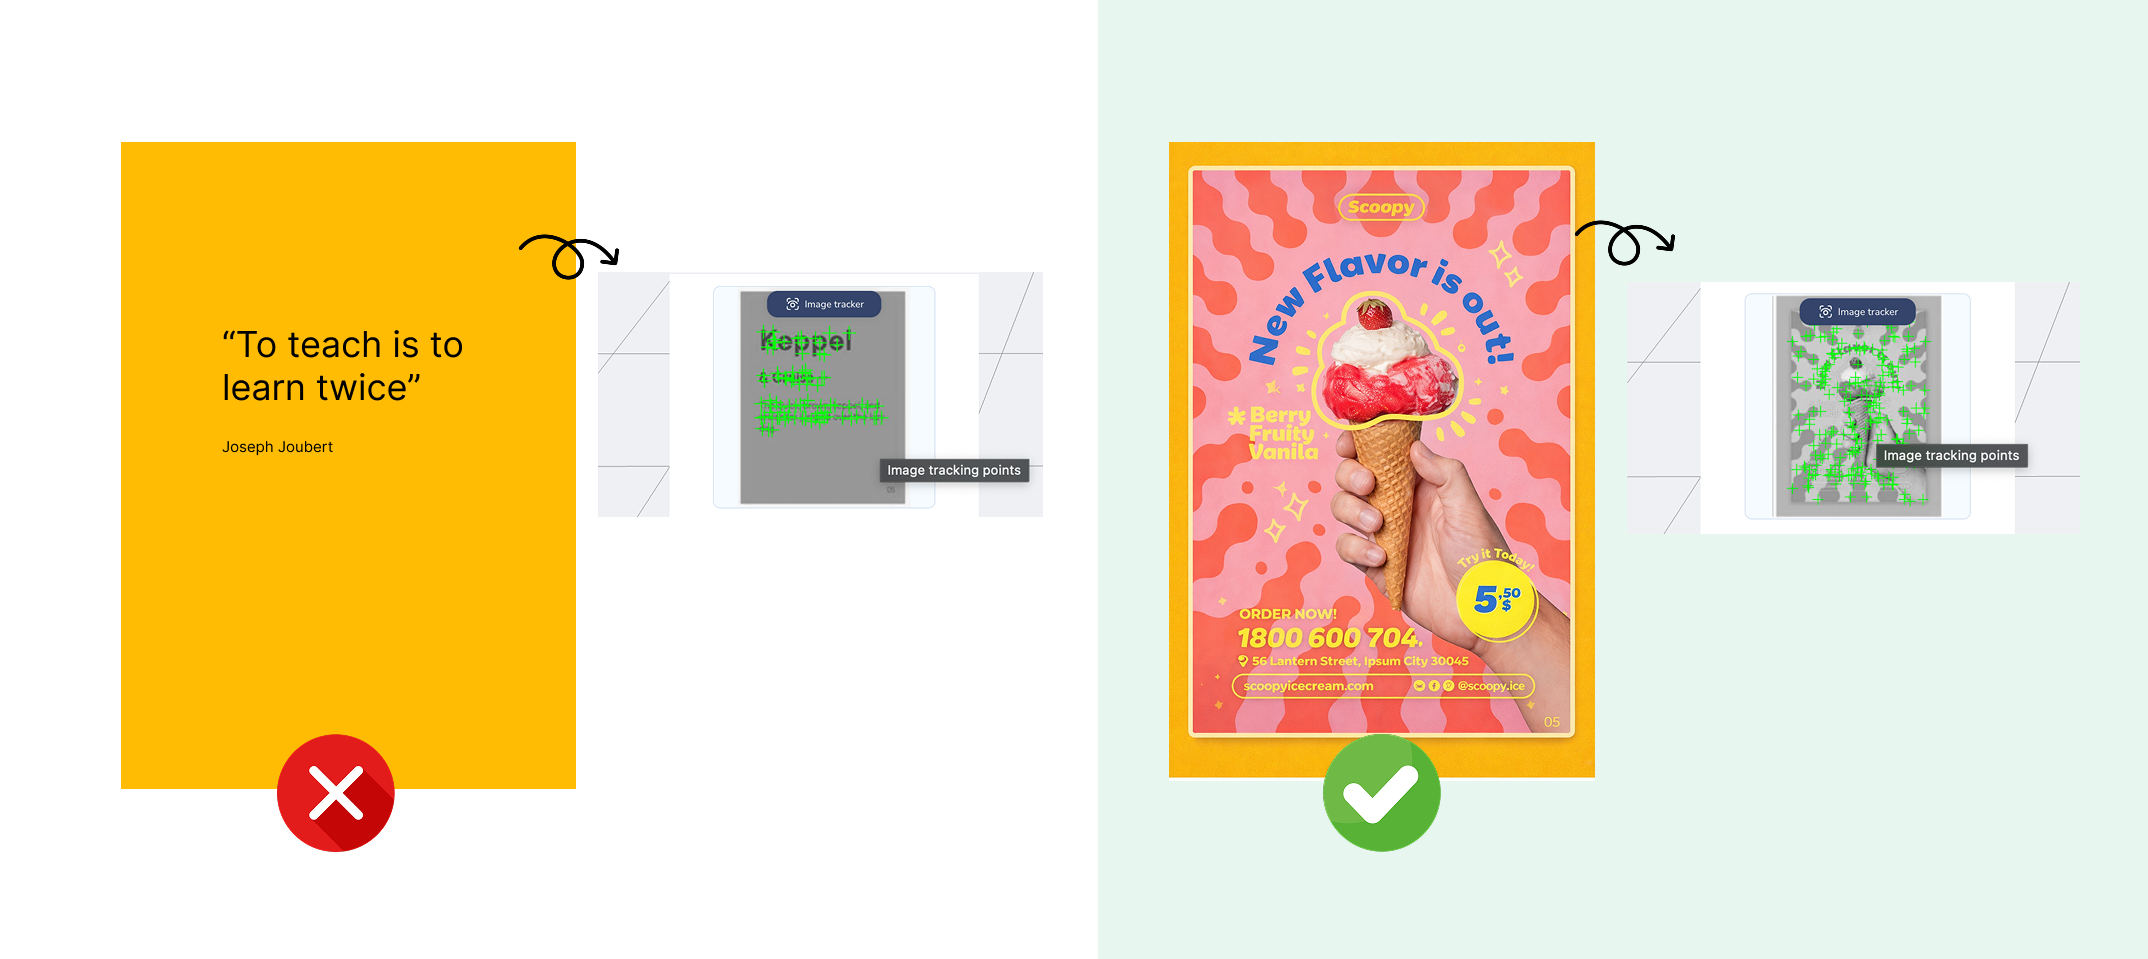
<figure><img src="/files/d9jeXsT2upDj0mvUF7WX" alt=""><figcaption></figcaption></figure>

1. **Rich Visual Detail**\
   Use distinctive graphics with dense visual–text compositions (e.g., illustrated characters combined with multiple objects or dynamic street scenes).
2. **Strong Color Contrast**\
   Combine light and dark tones to improve detection accuracy and tracking stability.
3. **Proper Format & Size**\
   Save in PNG or JPG format (8-bit/24-bit), maximum 2 MB. For JPG, use RGB or grayscale mode.
4. **Appropriate Surface & Material**\
   Avoid glossy paper, as reflections can disrupt AR tracking. Place the marker on a flat, non-reflective surface for optimal detection.

## Where Can You Set Up Custom Markers?

1. Editor

   * Click the image icon at the bottom-left of the Editor
   * Upload your marker image
   * Toggle visibility using the eye icon

   The simplest way to add a Custom Marker is directly through the Editor.

   . [Watch the video tutorial for a complete guide.](https://youtu.be/-H9WaIzGdAA?si=fASIYL1QoMeyLEd7)<br>
2. Marker dashboard

   You can also add Custom Markers via the AR Marker Dashboard.

   * Click **Add Custom Marker**
   * Select the image file
   * Name the marker
   * Choose the project where it will be used
   * Click **Upload**

   . [Watch the video tutorial for a complete guide.](https://youtu.be/7WyNOw6W7t8?si=DJxEpl-mrDZ0Lbwr)<br>
3. Teaching Aids\
   You can assign a Custom Marker to any content in Teaching Aids. Steps:\
   Alat Peraga menu → choose content (or search) → open the content → click **Set Marker**

## Custom Marker Terms and Condition

You can purchase Custom Markers in two ways:

Via Subscription Package

✅ Validity follows your subscription period\
✅ Each package includes 5 Custom Markers + 1 Free Custom Marker

Via Add-on Purchase

✅ Valid for 60 days (30 days longer than monthly package)\
✅ Choose any quantity (10 / 20 / 50+ Custom Markers)

Please refer to the comparison table for detailed differences of [Subscription Package](https://app-edu.assemblrworld.com/en/plans) and [Add-on Purchase](https://edu.assemblrworld.com/en/projects/creations):

<table><thead><tr><th width="147.7939453125"></th><th width="298.8564453125">Subscription Package</th><th>Add-on Purchase</th></tr></thead><tbody><tr><td>Quota</td><td>Limited, only 5 Custom Markers for all packages</td><td>1-1.000 Custom Marker </td></tr><tr><td>Price</td><td>Start from Rp 39.000</td><td>Rp.45.000</td></tr><tr><td>Active periode</td><td>Based on the monthly/annual subscription plan. Purchasing the same package multiple times does not increase the Custom Marker quota.</td><td>60 days</td></tr></tbody></table>

{% hint style="info" %}
Pembelian Custom Marker(Add-on) ini terpisah dari paket yang disediakan. Hal ini dikarenakan adanya penawaran masa aktif yang lebih panjang dan fleksibilitas dalam menentukan jumlah Custom Marker
{% endhint %}

## How to Purchase Custom Marker

1. Go to [ "Editor"](https://edu.assemblrworld.com/id/projects/creations) menu
2. Select **Custom Marker**
3. Findout symbol (+), then you can add Custom Marker quota.

## FAQ

### I purchased two "Single" plans. Why didn’t my Custom Marker quota increase??

Purchasing multiple Single plans does **not** increase your Custom Marker quota.

#### How Custom Marker Works in Subscription Packages

Each **Single Plan** provides **5 active Custom Markers**.\
When you purchase another Single Plan, the new plan only **reactivates existing markers**, not add more.

**Case 1: All markers from first plan are used**

* Plan 1: 5 markers (all used)
* Plan 2: 5 markers\
  → Plan 2 reactivates the same 5 markers\
  → Total remains 5 markers

**Case 2: Some markers from first plan are unused**

* Plan 1: 5 markers (3 used, 2 unused)
* Plan 2: 5 markers\
  → 3 markers reactivate old ones\
  → Remaining 2 quotas expire\
  → Total active markers still max 5

#### Conclusion

Purchasing additional Single Plans does **not** increase Custom Marker quota.\
If you need more Custom Markers, you must purchase them separately via the Add-on option.